Xtool X100 PAD2 is tested as a great key programmer for Renault Megan, Scénic, Espace, Laguna, Clio etc…
here is the real feedback and test report from the Facebook group in xtool pad2:
2009 Megane II spare key successfully…

Programming lost card Renault Megane 3… programming in 5 min easy with x100pad.. Happy customer… id4 map pcf 7941
Renault Twingo 2011 all keys lost,Xtool straight in programmed

X100 PAD2 GLOBAL GL ver. You have success add a key – cards for Renault after 2010 (Laguna, Megane Scénic Clio 4, etc. 2010 – 2015)

-New card key Renault Laguna
-Immo
-Remote
– 5min.
With x100pad 2 pro

Renault scenic 2006 56
Success reads pin And programmed card with XTool X100 PAD2
Autel im508 failed to read pin
True code failed read the wrong pin
Xtool wins!!! K.O AUTEL ,K.O Truecode!!
AKL on Renault Clio 3. 2 remote keys programmed easy. About 2 mins total. Nice easy job especially with key number in the glove box
Renault Scenic add a card.All ok
2010 Renault Koleos 7941 keycard added. Xpad instructions were not entirely clear but I got there in the end. When done programming, neither key will start car (remote is fine)but leave car for 5 minutes and they will all operate properly

Another Renault kangoo 2007 ph2
All keys lost
Using aftermarket key/ remote
Easy job
Renault kangoo 2006 ph2
All keys lost
Starts and remote works
A happy day with xtool pad2
Renault Megan Scenic 2004 AKL is possible just to add key card new
Renault:
Clio 2 ID46, Kangoo, Master 2, Megane 2, Scenic 2 (before 2008), Clio 3, Modus: OK (akl and add key)
2010 Renault twingo
All keys lost
Read pin
Programmed remote key
Aftermarket key all good
2007 Renault Clio lll
Read pin ok
Programmed key ok
Remote worked and start vehicle
Easy process
2010 Renault traffic
Aftermarket remote key
Work good simple

Renault megan 2 2006 add card .All ok with xtool x100 pad2 key programmer
RENAULT MEGAN 2005 ADD KEY OK .
Renault Sandero Stepway 2013 – pincode fail.
-2007 Renault Espace IV Phase 2 read Immo-Pin: FAIL
-2007 Renault Espace IV Phase 2 add key: FAIL
please look at the Xtool X100 PAD2 / PAD2 PRO Renault function List table:
| Xtool X100 PAD2 Renault Function Table V26.87 | |||
| series | paragraph | vehicle | function |
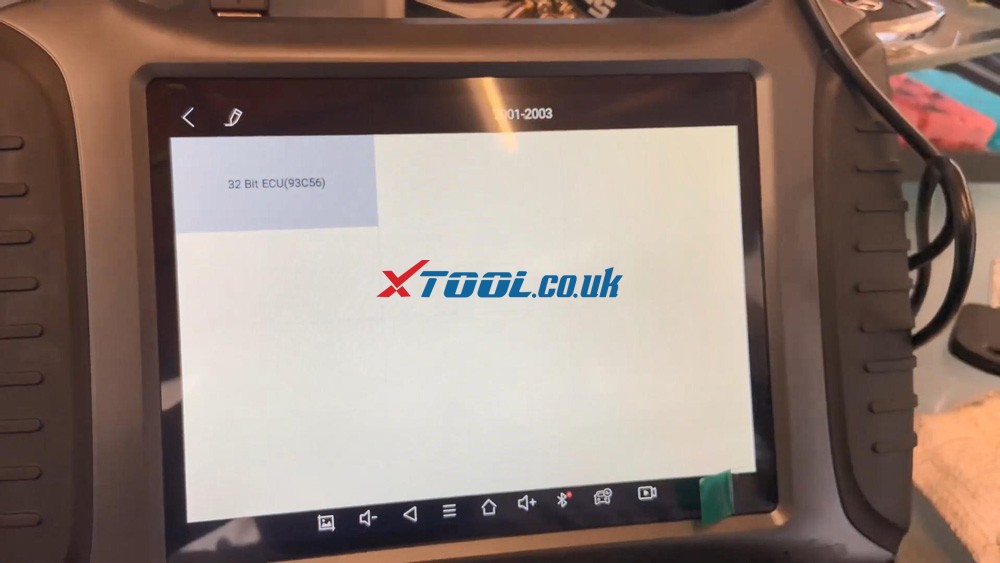
| RENAULT | 2001-2003 | Avantime | 1.Program keys 2、Read pincode 2.1.Type 1 2.2.Type 2 |
| RENAULT | 2010-2013 | Duster(Dacia) | |
| RENAULT | Espace Blade key | ||
| RENAULT | 2001-2007 | Laguna Blade key | |
| RENAULT | 2010-2013 | Logan (Dacia) | |
| RENAULT | 2010-2013 | Sandero (Dacia) | |
| RENAULT | 2010-2013 | Symbol (Dacia) | |
| RENAULT | -2001 | Clio | 1、Program immobiliser 2、Initate new immobilser |
| RENAULT | -2001 | Kangoo | |
| RENAULT | -2001 | Master | |
| RENAULT | 2001-2005 | Clio | 1.12-digit PIN 2.Free pin code 3.Read BCM Code |
| RENAULT | Clio II | 1.Program keys | |
| RENAULT | Clio II HB | ||
| RENAULT | Clio II CAMPUS | ||
| RENAULT | 2003-2010 | Espace Card key | |
| RENAULT | 2002-2007 | Kangoo | |
| RENAULT | 2001-2007 | Laguna Card key | |
| RENAULT | Laguna Keyless | ||
| RENAULT | 2004-2009 | Logan (Dacia) | |
| RENAULT | 2002-2007 | Master | |
| RENAULT | 2007-2010 | Master | |
| RENAULT | 2005-2010 | Sandero (Dacia) | |
| RENAULT | 2003-2005 | Solenza | |
| RENAULT | 09-10 | Symbol (Dacia) | |
| RENAULT | 02-06 | Trafic | |
| RENAULT | 07-14 | Trafic | |
| RENAULT | 02-07 | Twingo | |
| RENAULT | 02-07 | Valsatis | |
| RENAULT | Valsatis Keyless | ||
| RENAULT | Clio III Without smart | 1.Read number of keys 2.Program keys 2.1.Input Pin Code 2.2.Free Pin Code | |
| RENAULT | Modus Without smart | ||
| RENAULT | Modus With smart | 1.Read number of keys 2.Program keys 2.1.Input Pin Code 2.2.Free Pin Code 3.Program remote 4.Erase remotes | |
| RENAULT | Clio III With smart | ||
| RENAULT | Kangoo II | 1.Program keys | |
| RENAULT | 2010-2016 | Master | |
| RENAULT | 2007-2014 | Twingo | |
| RENAULT | -10 | KOLEOS | 1.Program keys |
| RENAULT | 08- | Laguna Card key | |
| RENAULT | 2008-2012 | Valsatis | |
| RENAULT | 10- | KOLEOS | |
| RENAULT | LagunaIII | ||
| RENAULT | 2003-2006 | Megane/Scenic | 1.Number of keys 2.Program keys |
| RENAULT | 2007-2009 | Megane/Scenic | |
| RENAULT | -2015 | Captur | 1.Read PIN code 2.Learn keys |
| RENAULT | -2015 | Clio IV | |
| RENAULT | 2016- | Captur | 1.Add key 1.1.Read PIN code 1.2.Send PIN To HFM 1.3.Learn keys |
| 1.4.Backup FLASH 1.5.Recover FLASH 2.All lost key 2.1.Read PIN code 2.2.Create key 2.3.Send PIN To HFM 2.4.Learn keys 2.5.Backup FLASH 2.6.Recover FLASH 3.Help | |||
| RENAULT | 2016- | Clio IV | |
| RENAULT | 2015- | Espace V | 1.Non Smart Key 1.1.Read Number of Keys 1.2.Read EEPROM 1.3.Add Keys 1.4.Learn HFM 1.5.Create Key 1.6.Unlock Key 1.7.HELP 2.With Smart Key 2.1.Read Number of Cards 2.2.Read EEPROM 2.3.Add Cards 2.4.Learn HFM 2.5.Create Card 2.6.Unlock Card 2.7.HELP |
| RENAULT | kadjar IV | ||
| RENAULT | Koleos II | ||
| RENAULT | 2015- | MEGANE | |
| RENAULT | 2016- | Megane/Scenic IV | |
| RENAULT | 2015- | Talisman |
Where to have one Xtool X100 PAD2?
Bought it from
https://www.xtool.co.uk/wholesale/xtool-x100-pad2-pro-with-vw-4th-5th-immo.html


